With this costume I want to document the processes as best I can. This will be the fourth yarn wig I make and I am in love with the versatility yarn can offer to costume wig making.
—
SUPPLIES-
Styrofoam wig head
Sewing pins
Needle and heavy duty thread
100% acrylic yarn
Wig making cap
Hair comb
Scissors
—
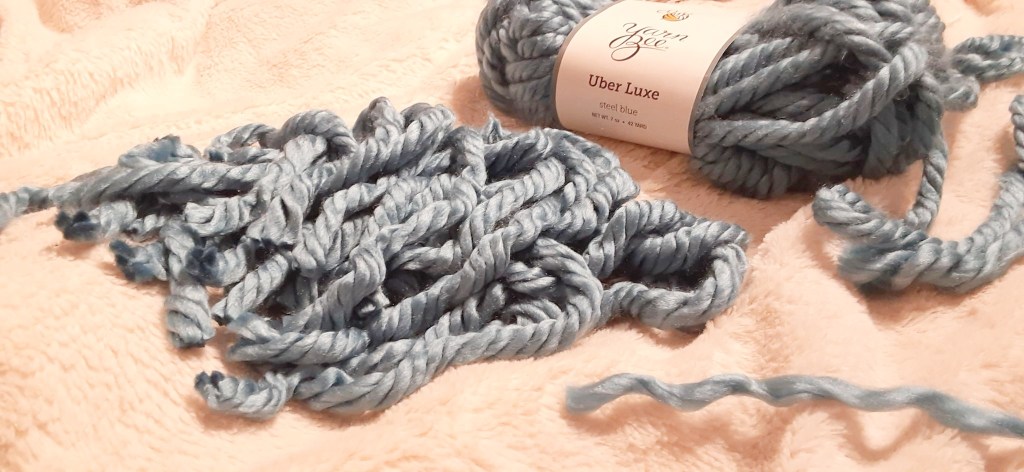
For this wig I am using super bulky, SOFT yarn. I chose Yarn Bee’s Uber Luxe because of this. For most brushed yarn wigs you take cut sections of yarn about 6-12 inches long, knot the center. You take a wire brush such as a cat brush and brush the yarn out before sewing into the wig making cap. It is very labor intensive brushing out normal yarns so I use bulky yarns to make it easier for myself. Because it is easier to brush out bulky yarns I do not brush the pieces before sewing them onto the head. This will only work if you use bulky yarns and knot each piece tightly onto the wig cap.
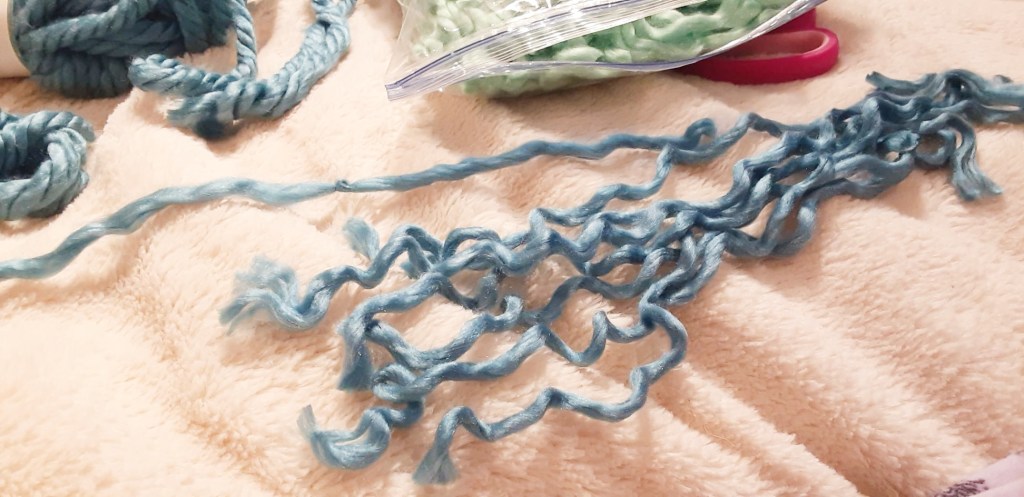
I cut the Uber Luxe yarn to about 8 inch pieces and separated the yarn into four sections (it is a 4 ply yarn) which I then knot in the center per usual. One downside of brushed yarn wigs is that it is impossible to make long haired wigs as the fibers, once brushed out, are no longer than 7 inches but usually closer to five. It is possible to make a long haired yarn wig if you leave the yarn un-brushed.
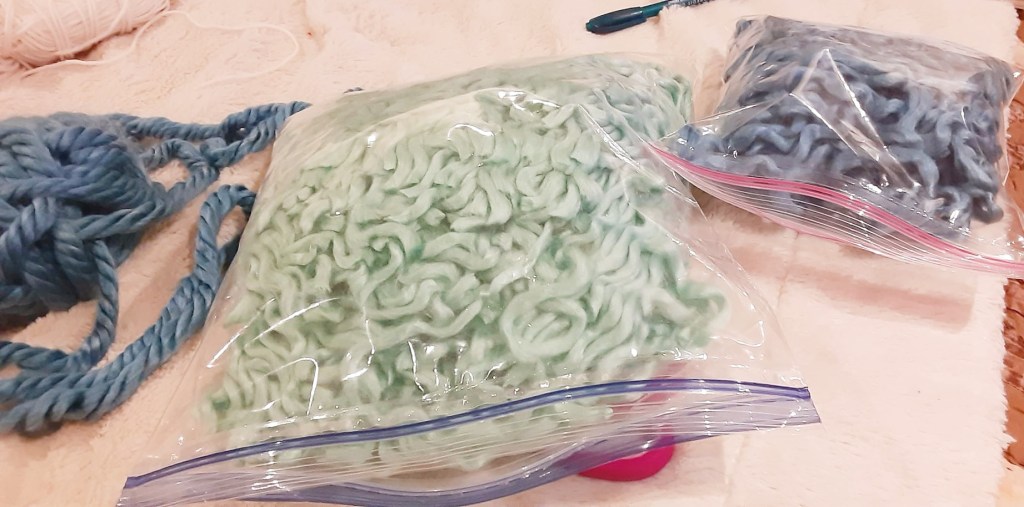
You will need so many more pieces than you originally thought, so it’s best to make as many as you can. I am making a two toned wig with a sea blue and a sea foam green. Once brushed out the colors appear MUCH lighter as they are less dense. I cut and tied two skeins of separated yarn, filling up two zip lock bags.
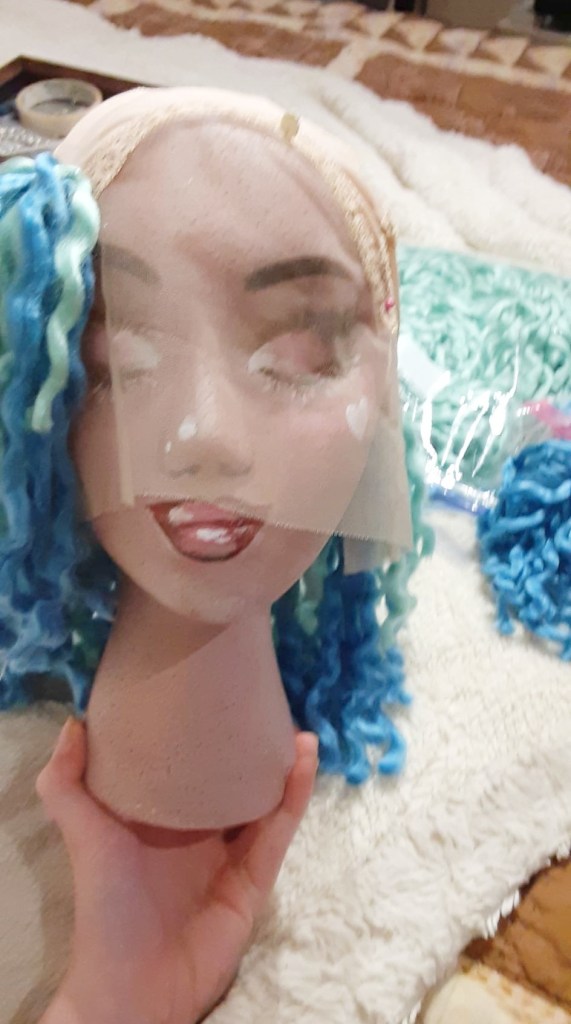
I ordered a lace front wig cap (https://www.amazon.com/dp/B07HQ5GQC3?psc=1&ref=ppx_yo2ov_dt_b_product_details). Lace front wigs give a more natural hairline- this will be my first time attempting one so I am very excited :D.
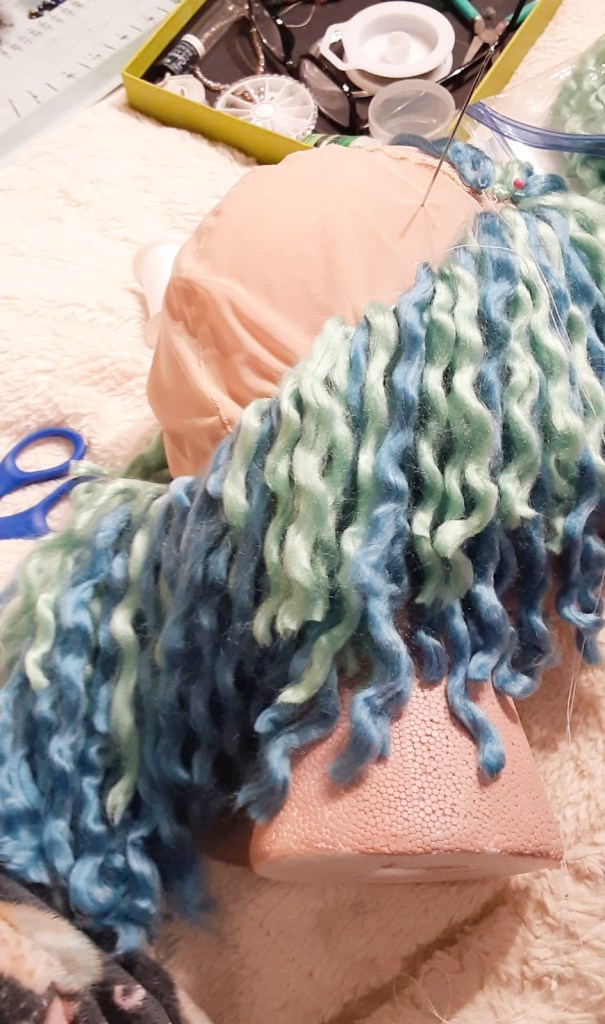
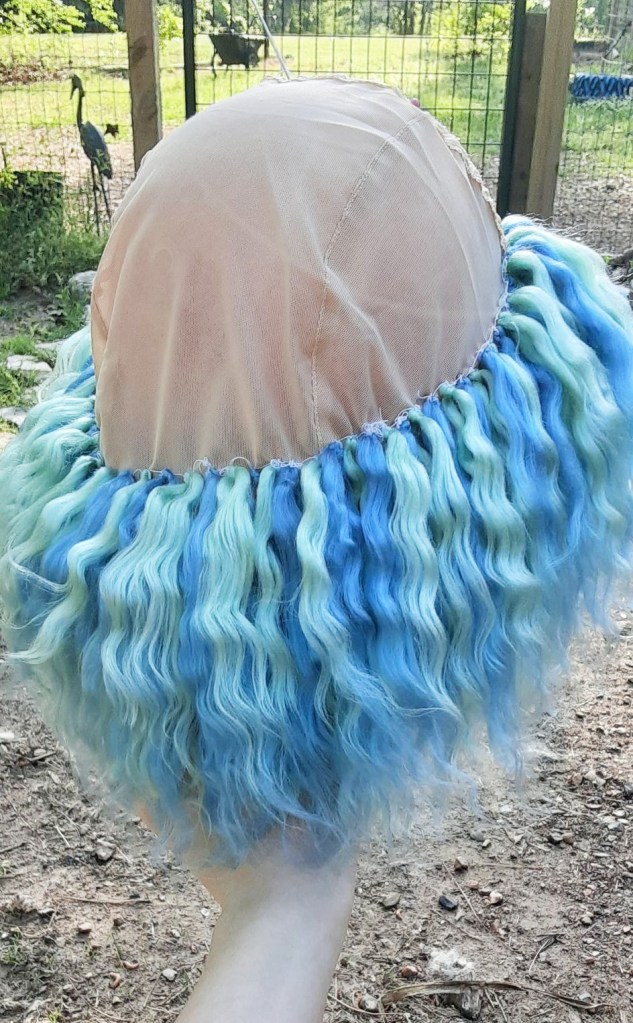
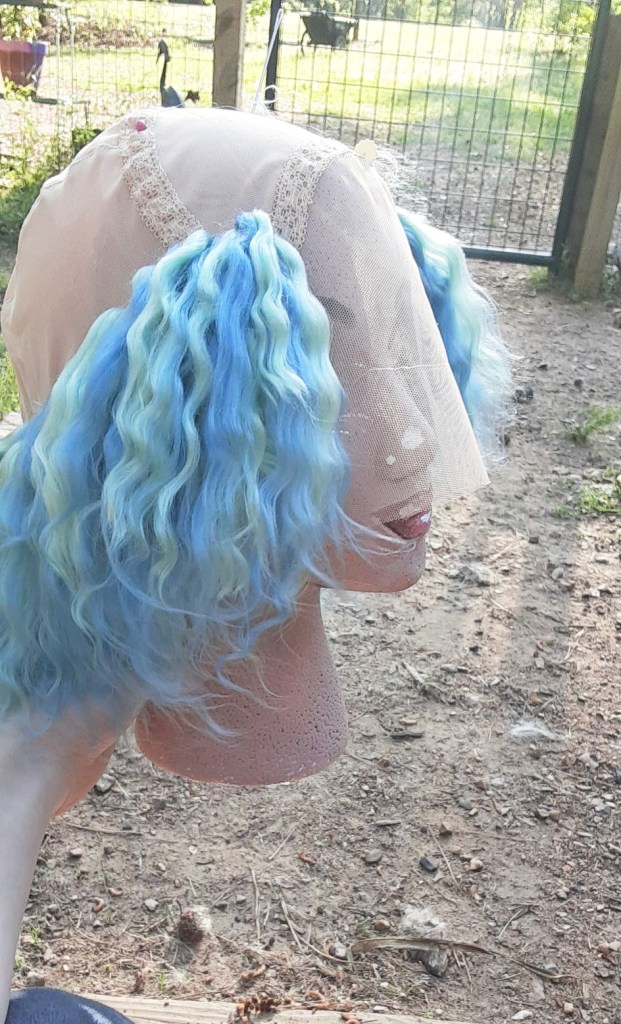
I pinned the wig cap to my Styrofoam head. All you will need is a needle, heavy duty thread, and the previously knotted sections of yarn. You will start sewing the yarn onto the wig cap starting at the base of the head and working around from about temple to temple. Do not fill in the front yet. Continue laying upward, leaving a half inch gap between each row and knotting the yarn onto the wig cap sturdily. Sewing the hair onto the wig cap isn’t difficult, just tedious and time consuming.
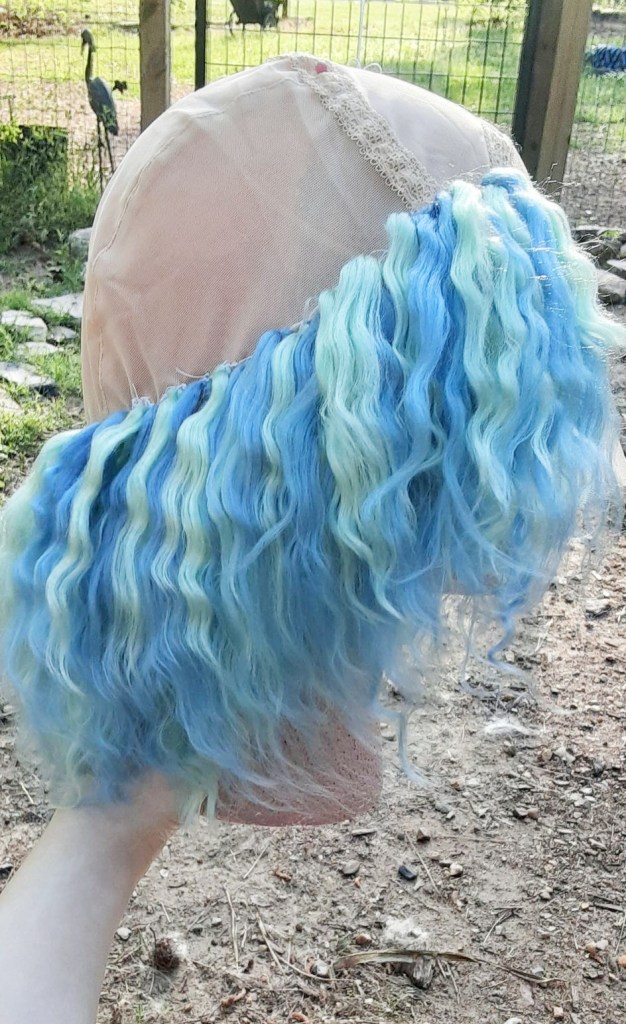
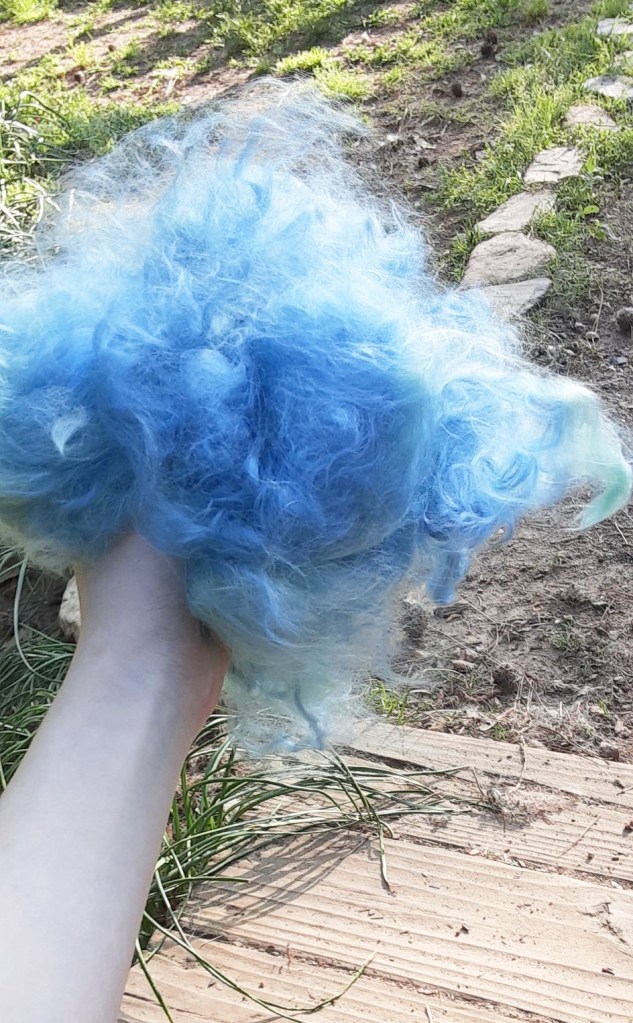
I went ahead and brushed the hair on the wig with a comb (not a cat brush as I wanted to preserve the wavy texture of the yarn). It is important to knot the hair onto the wig well so it isn’t torn out when you brush it. You can clearly see the texture and color difference as well as how much lighter it appears. I lost a lot of volume but the wig is not frizzy anymore from the loose fibers, which there will be a LOT of.
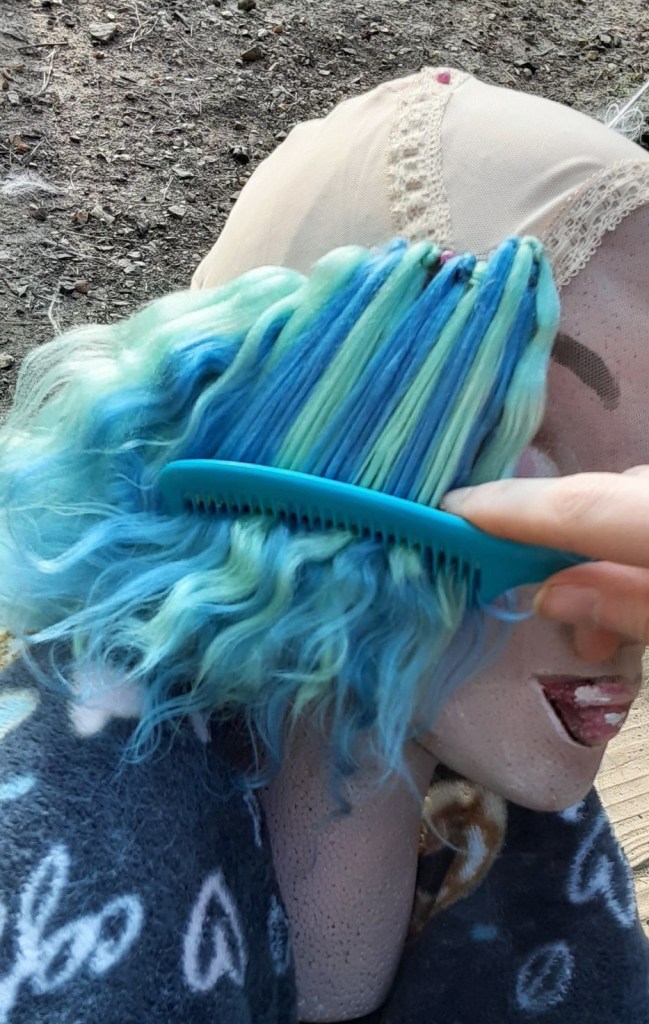

I sincerely recommend brushing the wig outside a about half the hair on the wig are loose fibers to be brushed out. SO MUCH FLUFF.
I will update the wig as I make progress on it!
